|
Above is the link to my online digital portfolio. The experience of creating it was a positive one for me. I also feel that it was at a great time in my professional career being that this is my second to last class of my masters, so I had a lot of things to contribute to my portfolio that I felt were professional and worth sharing. I've learned a lot in my almost two years in my Wilkes Program, and it was a very nice experience to reflect on that. There are several things that I feel proud of that I created, and it is nice that they are all in one space that I can share publicly.
Because I saved EVERYTHING in my Google Drive, it was a natural decision for me to use links from Google Docs, Google Drive, Google Slides etc. I also pulled links from various websites, like Voice Thread, to include. I was humbled to see the breadth of my work all displayed in one place. I feel that using links, although isn't as visually appealing gets the job done and is very straight forward. I chose to use Weebly, again, because of my familiarity with the online program and it was easy to link my various blogs to it. This is sort of the place that most of my professional blogs were, so it seemed a natural selection. Balancing my professional presence on the internet versus my personal was probably my biggest challenge. The most personal thing that I included was probably my Pinterest Account because I do save a number of materials on there for school. I included a personal email address as well. But my other social media accounts are completely professional (LinkedIn and Twitter). I thought this added an element of realness to my portfolio. Instead of including a picture of myself, I elected to put a picture of my door because this is after all mostly about teaching. I decided to break up the work I have completed in the formats in which I created them. I included works from other institutions. But mainly wanted to stick to the titles of the works so readers can choose what they want to see based on the content.
0 Comments
I must admit I was very apprehensive about doing a live webinar. I decided to do it on something that was of personal interest to me-- crocheting. The closest thing I have ever done to a Live Webinar was a recorded lesson on my ipad about how to do two digit by two digit multiplication. However, it is obviously different because there isn’t an audience right in front of you. After I sort of came to terms with the fact that I teach all day long in front of children, it became less scary to me.
I decided to go with LiveStream for my application. I had trouble locating the free trial edition, but after speaking with a representative, I found the free version in the middle of the page where you pay for the actual application. I had trouble using the application from the start actually. When I first went to put in the description, time and date, it didn’t save. So I had to re do that. I had no trouble sharing my webinar to my facebook page. I also shared it via text message to my family so they could participate. After I started preparing what I was actually going to say. I created an outline. At first, I planned to do several stitches. But then I didn’t want to over complicate things, and if people needed time to follow along or ask questions, I didn’t want it to be too much. As I learned with my other webinar, I need to leave a lot of extra time to log in and know what I am doing. I had to download the software, which I did without any trouble. Live Stream’s set up was very user friendly, everything was very obvious on which buttons to make a screen share and which buttons to be on webcam. I also realized in my test run that I would have set my webcam up to see my hands, to show everyone what to do. Luckily I have a detachable webcam and I was able to set it up on a basket and angel it to see my hands. It really wouldn’t have worked otherwise. In order for it to work, I didn’t move my webcam for others to see me, they just got a stream of my hands. I had my husband log on for the first try to make sure that he could hear me. I had to fix a few sound settings on my computer for it work, but I am so glad that I did several test runs before I did it! In the end I had my mom and my husband participate in my actual webinar, I wanted to keep it low key for my first one. It was really neat to be able to share so much (audio and video) while doing something. It was almost like being in person. 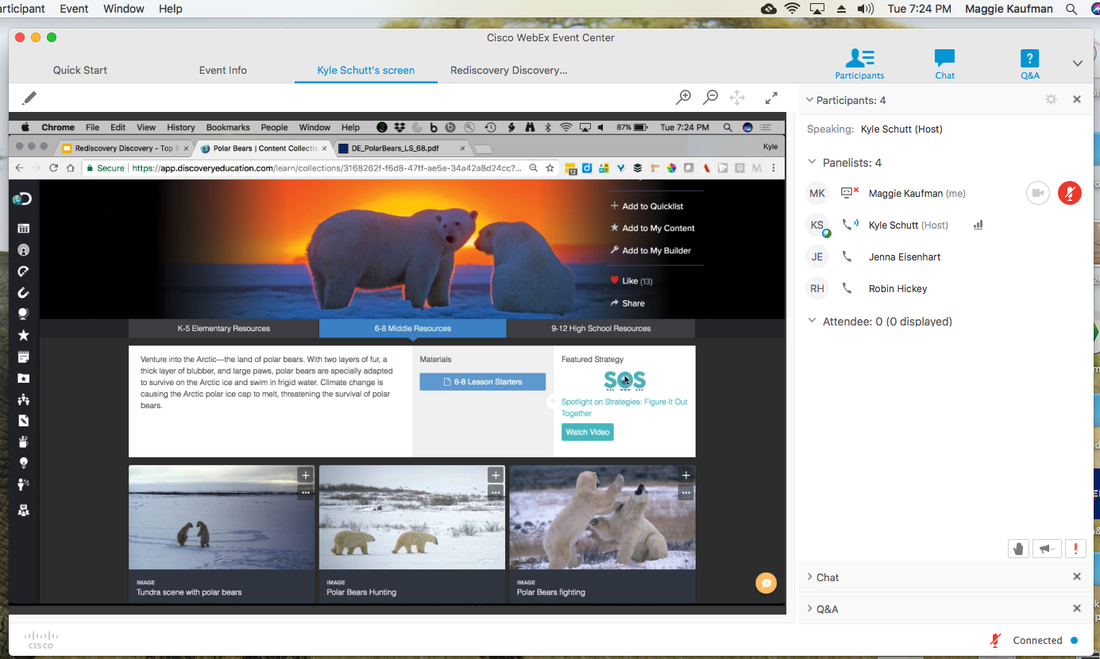 This week I had the pleasure of joining a Discovery Education webinar on Rediscovering Discovery | Top 5 Things to Know About Discovery Education Streaming. I wasn’t expecting to get as much as I did out of the webinar I attended! I am a little ashamed to admit that I picked the topic more because of it fitting in my schedule than its relevance to me-- it did however have SOME relevance to me, just not as much as I expected. So much technology that we are handed, materials included, are just thrown at us, without much professional development. I certainly see the merit in doing these professional development webinars. Not only that, but the webinar I attended showed us even more ways that we can access PD through the Discovery Education website.
The hardest part about the webinar was logging in. I have logged in to several other virtual meeting platforms, so i didn’t think that I would have the difficulty that I did, or take the amount of time that I did. I was using my Chromebook, which didn’t support java, and therefore I had to switch to my Mac. I was worried that it wouldn’t work on there either, because I know that Macs sometimes do not support Java, or Flash, I can never remember if it is just iPads or all Apple products. To my relief it did seem to be supported on the Mac, but it took me a few attempts to download the Cisco add-on to my Chrome browser. The meeting itself was very productive. With the platform they used, I was able to speak, chat or just listen to what was going on. I could call in, or use a built in microphone. The facilitator did a great job of being inviting about participating in the webinar without being too pushy or expecting it. I could see this type of broadcast being used in my classroom to share something with parents after hours, if they couldn’t make it to a meeting and wanted to discuss or show them something on the computer. I can’t say that I would have my students attend this meeting as a third grader, but I am now much more interested in Discovery Education’s virtual field trips. I plan to look into them and see what I need to do to sign my class up for them. Overall I had a very positive experience and would attend this again. I would just give myself more than enough time to be logged in and waiting. If I am going to use social media with my Third graders, the platform for which I do it, needs to meet a few criteria.
I created this lesson plan with longevity in mind. I am able to apply this lesson plan to any story in our Journey's series. I think that having students answer comprehension questions via FlipGrid pulls away from grammar, spelling and semantics that can get in the way of truly knowing if it is a comprehension problem, or a difficulty with written response. Flip Grid gives the ability to document spoken answers. Follow the link to my Google Doc below for my lesson plan. I have seen Photo-a-day challenges all over social media: Instagram, Twitter and Facebook. I love seeing all the different pictures that they post or the various themes of these challenges. I feel that these challenges focus the photographer, it can have someone focus on various details of their lives. In my graduate studies we are studying social media and the involvement that teachers and students can have in it. I am not very diligent about doing daily posts or daily photos, but I am challenging myself to post one for every day of the week. Review of Photo-A-Day ChallengeAfter researching the 365 photo-a-day challenges I decided that there are SO many to choose from that I would just sort of create my own. My pictures represent the biggest thing that happened to me or the biggest thing that I did that day. I have never participated in Photo-a-day challenges before, they were never really that big of an interest to me. I do post on social media, but I mainly share things. I think this is why I like Facebook over most of the platforms because it is so easy to share interesting articles and viewpoints. For this mini photo challenge I decided to post them to my blog. I used my iPhone 8 Plus camera. Mainly I did not apply filters to the pictures, sometimes I used different setting on my camera, mainly I just used it for point and shoot. It was relatively easy for me to put them on my computer to add to my blog. I found this the easiest way to do it, because the interface on the Weebly app (the website I use for my blog) was a bit complicated. I was able to do this because of the effortless ability to share pictures between my iPhone and my Mac. 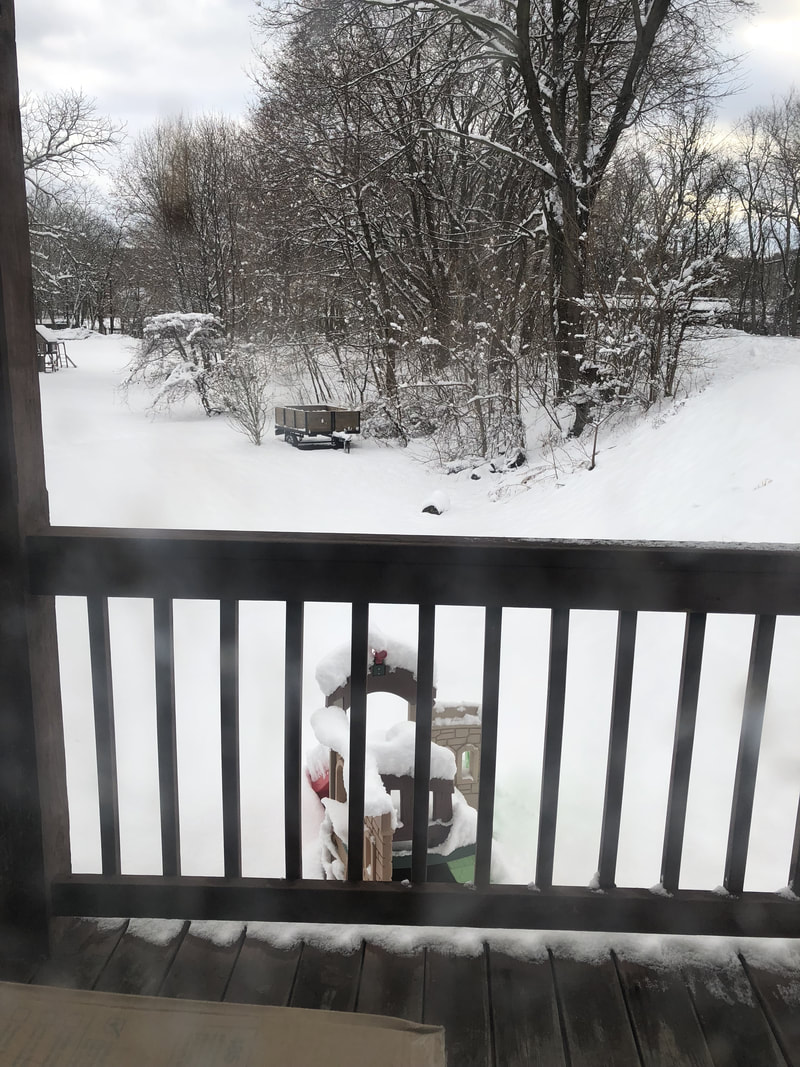 Sunday - My back yard after the snowstorm from the night before  Saturday - Fire and ice sculpture with friends from work! 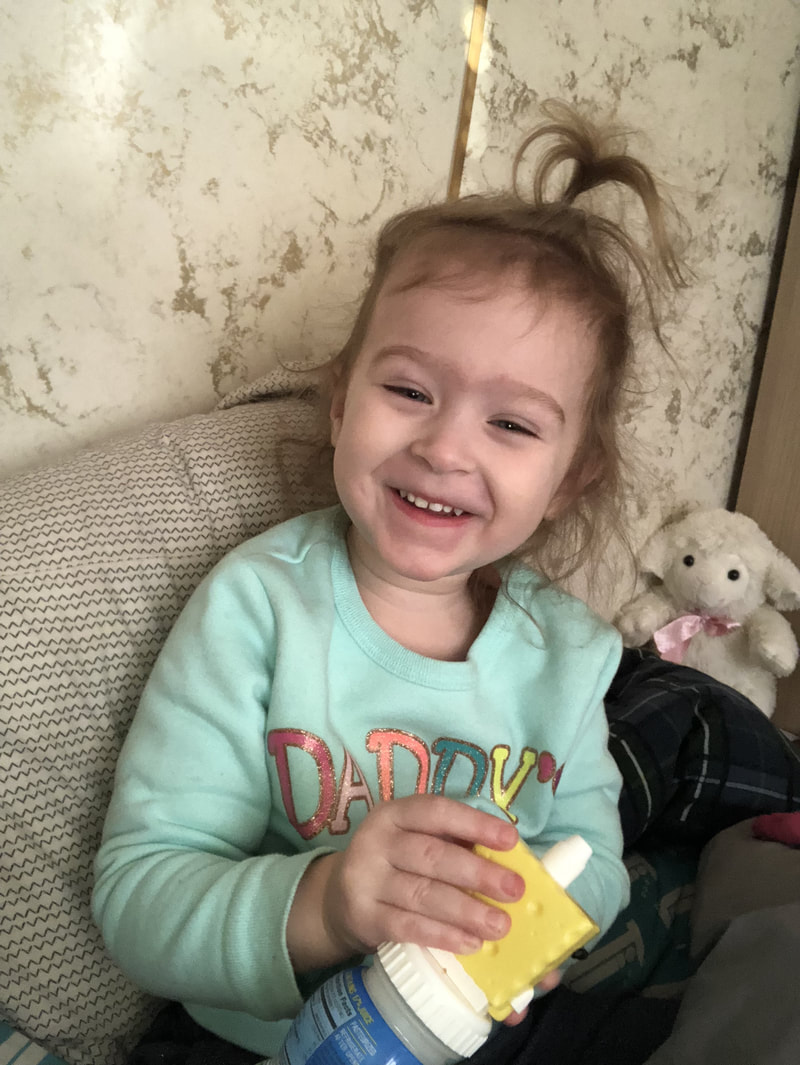 Friday - A school day off with my girl!  Thursday - A selfie for posterity  Wednesday - My Valentine's Day dinner from my hunny 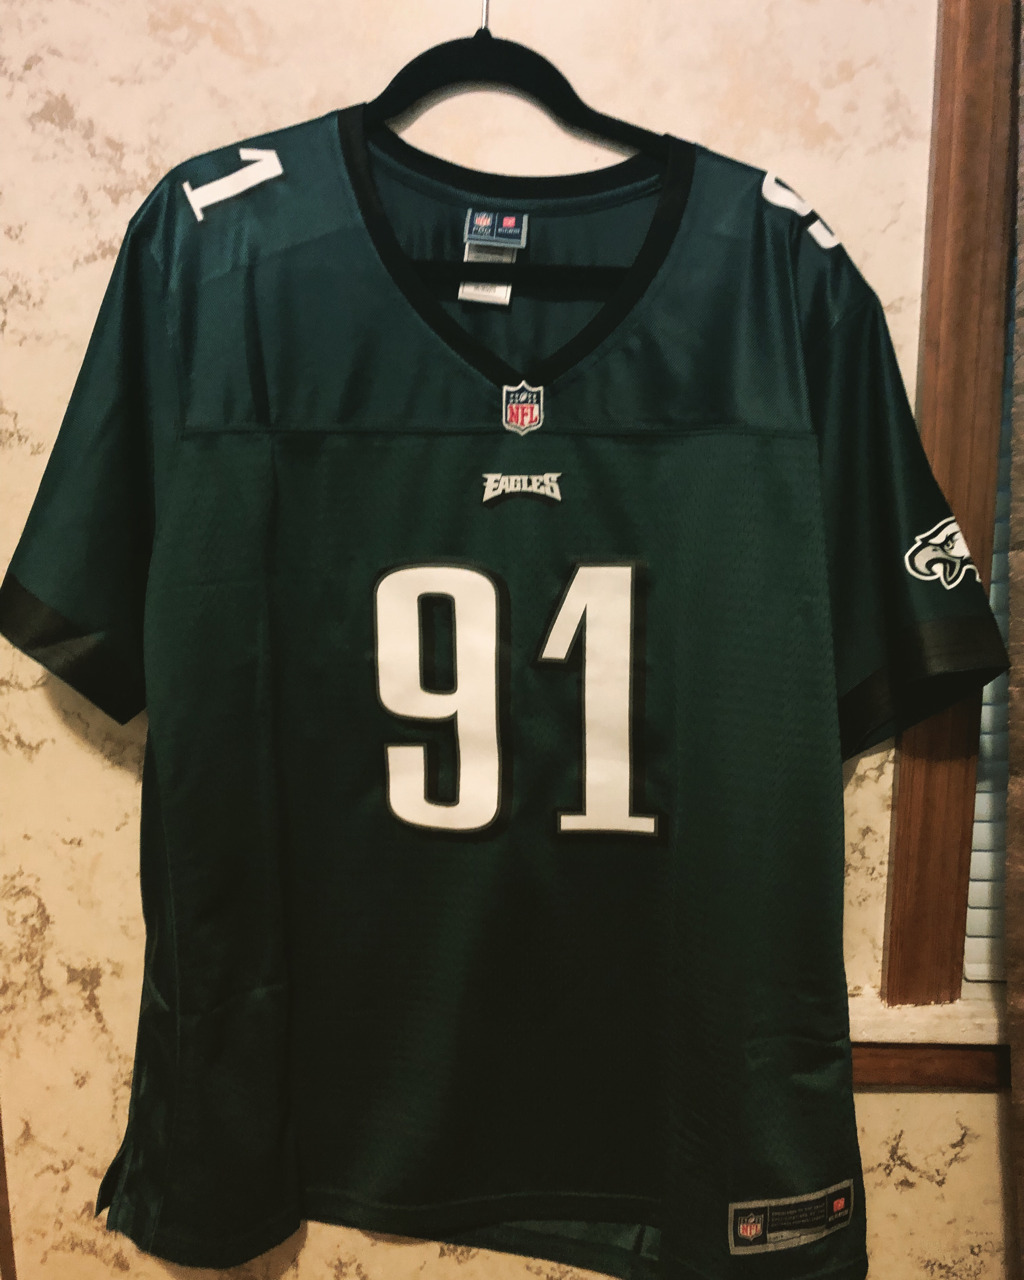 Tuesday - Happy early Valentine’s Day to me! 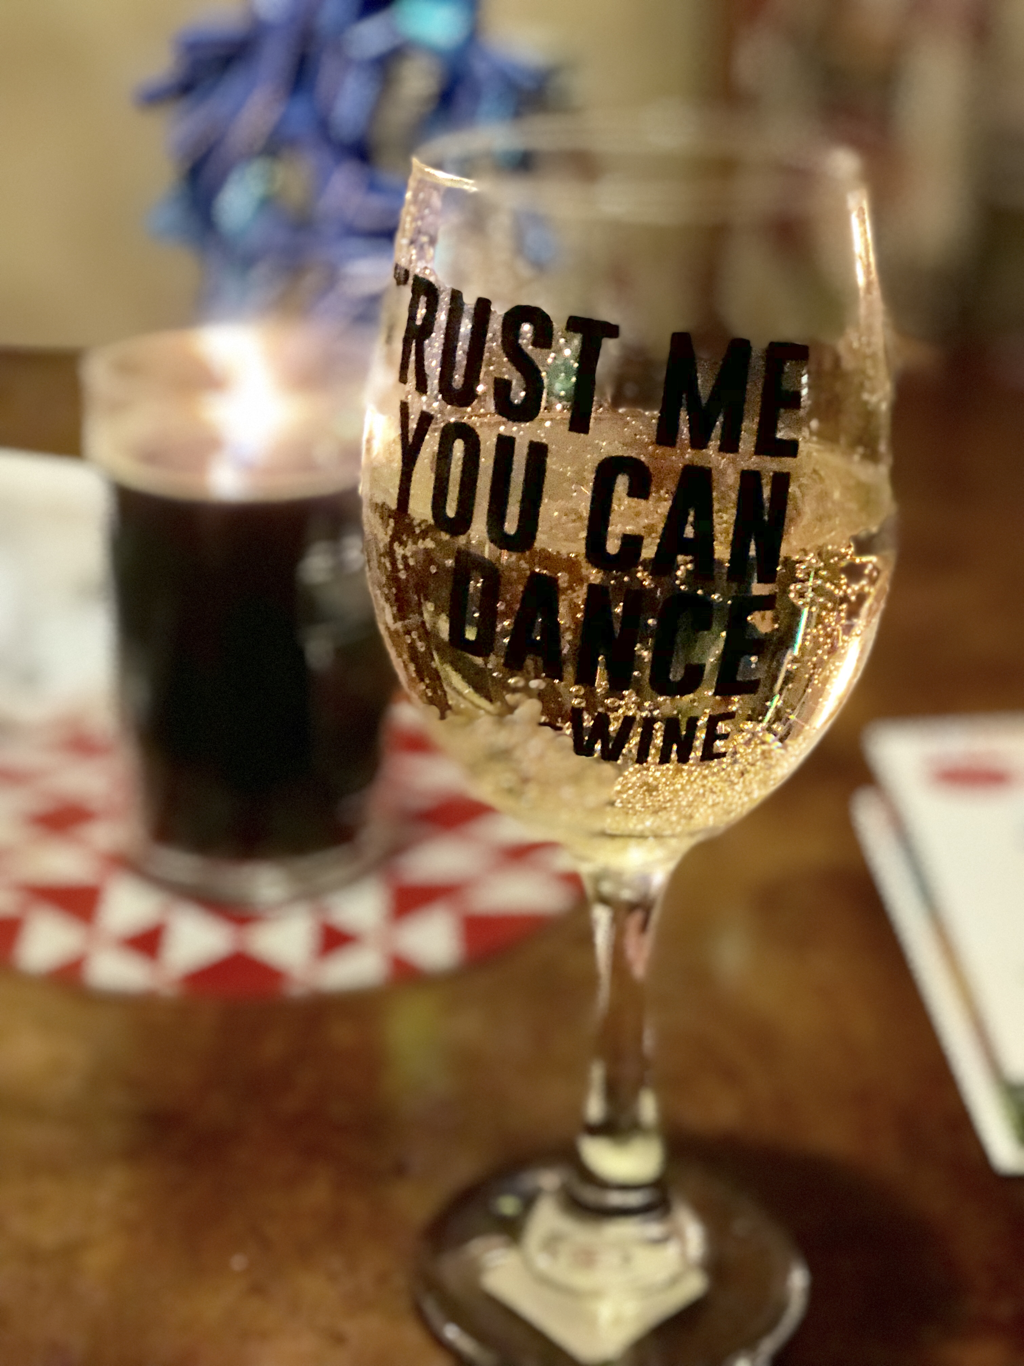 Monday— Having Ginger Ale in a wine glass, #pregnancy For my all cell phone created video I chose to use iMovie because I am familiar with it and it works great on iPhone. Due to the nature of the subject of my digital story— the moment I knew I was a teacher, I couldn’t go back in time to get shots of where I was (in my Foundations of Education class in Elizabethtown College, as well as when I was in third grade in my own elementary school, so I improvised and used pictures I had from my past and ones from Creative Commons license. Enjoy!
This week in class we are exploring the topic of cell phones in the classroom. In order to find colleagues that have used cell phones I sent a message out to the staff at the elementary, middle, and high school. I was sort of surprised to find that very little of my fellow Newport Staff used cell phones in the classroom in the way that we were discussing. Many teachers who responded to me used cell phones for tracking in their classroom: timing students, using voice recorders (music class), using calculators, and several in the high school reported using cell phones for Kahoot.
Using a cell phone in class would require a lot of planning, in terms of expectations. It would need to be known for the students and the parents what is appropriate for school. The most challenging thing I think of for a BYOD lesson would be those students that didn’t have a cell phone, or a cell phone with access to the internet. Or maybe the phone they do have is one that they share with a brother or sister. I speculate that there could be several problems connecting to the wifi, helping with Android devices (for me, I am much better with Apple products) and sending information back and forth to each other with no glitches. I know that some apps and devices are not able to run on different platforms. In the middle and elementary school we are not 1:1. The high school is 1:1 with chromebooks. I have noticed a trend in my graduate class that several people with a 1:1 initiative in their classroom, don’t see the need for using cell phones. I see two sides of this. I know that when I am working I use my cell phone for messaging and my calculator, which isn’t a huge help in a classroom. We don’t need our students being anymore distracting than they already are. I am sure there are many apps that could be useful in a niche. Especially if chromebooks are not equipped with audio and video equipment, cell phones do have a place in a 1:1 schools. It is so easy to shoot a video on a cell phone then upload it to a computer with video editing software, or editing it right on your phone. On the other side of the argument, I understand that teachers wouldn’t need cell phones if they have a laptop for each child. The majority of work that can be done in school would be on a laptop. As a teacher I would like it better that students were using school equipment, with filters that ensured they were only able to access content that is appropriate. Google Drawings - www.google.com Google Drawings is a web application that my students are very familiar with. Our computer science teacher at the elementary school does a great job with teaching students many aspects of the G Suite, being a Google School this is an awesome thing. Google Drawings is a great way for students to summarize their learning, create projects of their learning or display information in a new way. The only problem with Google Drawings is I am not very good at it! I would love to be able to use this application in my classroom in various ways, especially because my students are well versed in it. I think that my aversion to Google Drawings is that I know several other applications that I already know better to create posters or infographics. The G Suite has all of the basic functions covered with their web apps. Usually I am left wanting a few of the functions from Microsoft can offer. I think this is because I was raised and learned on Microsoft applications, and not Google. I found myself comparing Google Drawings to Canva. Canva is really nice because it helps its user to align things properly, and there are many preloaded templates to work off of. I need to remember that when I think of my students rather myself. Voicethread - www.voicethread.com VoiceThread is a great online tool for presentations. It really brings the information to life with the sound of your voice. My biggest problem with VoiceThread was the mastering how to record my voice on my presentation. There seemed to be many things that I need to to turn off or on for my mic to work on my Mac. Because of this I would think that it might be hard for my third graders to master this easy enough and then use it to create something else-- meaning that it would be difficult for their level. However I feel that VoiceThread is an excellent tool for the upper grades. The other thing that I really like about VoiceThread is the ability to upload many different types of media into the presentation- images, videos and of course voice. I also really like that we are able to save the presentations online. This gives us many different ways that we can share them: email, link, and social media. VoiceThread is much more intuitive than Microsoft PowerPoint to add voice to video presentation and you are able to play the presentation without clicking a little music note to play the audio recording. ClassDojo - www.classdojo.com ClassDojo is something that I just started using this year, but I have heard about it for many. There are several features that makes it useful in an elementary classroom. It combines several web apps in one with the ability to message parents individually, or as a group. Dojo also gives you the ability for students to post about their day. This is the best mini blog feature that allows protection for the students (not on Twitter, with the fear of them seeing something they shouldn’t) as well as a way for them to interact with their peers only. The other great thing about it is the connection you are able to have with families. They are able to see what their children post, as well as the behavior notes that you say about their child. It is also wonderful that the developers gave teachers the discretion to decide what they want their parents to see, in terms of feedback. In the beginning of the year, I only allowed my parents to see the positive points that I was giving students. As I began to know the personalities of my parents and students I allowed them to see all of the points on Class Dojo. This is also a great way to keep up communication with parents about the behaviors I am seeing regularly in class.
I am able to directly correlate Class Dojo into my reward system. Students spend their points like dollars for rewards and prizes in the classroom. Dojo again his a slam dunk by giving teachers the ability to print out reports from the dates of their choosing. This is such a great way to do record keeping. It makes documenting repeated behaviors so much easier because a time stamp is included any time that you give a positive or negative point. Dojo also has a tool kit that I find irreplaceable. I am able to make groups with various numbers of members in seconds. I use this weekly when we do review games or anything else that I need to make groups for. The tool kit also comes equipped with the best display software to display my instructions or announcements to my students. There are so many web tools available online today. Some of these tools have become essential in my daily life in school and personally. We are studying three different types of web tools this week and they are URL shorteners, QR Code generators and Bookmarklets. Bookmarklets are the newest to me. I would also peg them as the most “magical” because they seem to take information from a website without even copying it sometimes.
URL Shorteners My Classroom Website - https://goo.gl/KbMVap My Wilkes Blog - http://bit.ly/2FwM4GU i I have used tinyurl.com, Google URL shortener and bit.ly. Of all of these I seem to return to bit.ly because it seems to make the smallest URLs in my opinion and they save them. Google URL also shortens them and saves them (which is nice because it is linked to a Google Account, without another log in), but I guess I am partial to the formatting of bit.ly. I don’t really like to use tinyurl.com because they don’t track the URLs you shorten, however it is easier to make a URL that someone could remember because they give you a feature to edit what you want the URL to be. Either one Google or Bit.ly is such an asset to my classroom, I use these countless times to send URLs to my parents, via Remind. When there are only so many characters, it is essential to have shorter URLs. QR Code Generators Using Delivr.com I have never been a huge fan of QR codes. I have used them a few times in lessons with different worksheets and groups. My hang up comes because there isn’t a built in QR code reader in iPad. So, in my classroom I have to use a free version from a third party app developer which usually comes with ads that are unavoidable. I also haven’t found that my students are able to use them intuitively. The only time I have successfully used a QR code for my students has been with Class Dojo. Each kiddo was able to go to the QR code poster I hung in the room and automatically make their student account. I did try to use the QR code generator at deliver.com and my blog URL that I put in said that it wasn’t able to create a code from that web address. I am usually pretty good about using various technologies, so I don’t know what I was doing incorrectly. Bookmarklets When I was reading about these in my courses text information, I had NO CLUE what these really were. Was this another bookmarking site? If so, I already have my system in Google Chrome, and I wasn’t really interested in another. Then after rereading the instructions I finally understood how to use a website like quiettube.com. Simply bookmark that URL (quittube.com), then go to YouTube.com and find a video— then click the Quiet Tube bookmark, and viola! It jumps the user to a new page with only the video and a back or white screen around it. No more adds that I worry about my students seeing on the next video up. The only disappointment I have with this is you cannot make the video bigger on the quiet tube site. This is definitely a new favorite of mine! This week in class we are exploring various social media websites and critically analyzing their benefit in the classroom. We are looking at three veins of social media: creative, curation and social. All of these can have merit in the classroom. Personally I think that they have more value in the middle and high school grades because in elementary many of them will not make the cut off for the age limit to have an account. Also-- in the middle and high school many of them have much more of a familiarity with Social media. Therefore using it in a new way is a novelty to them, making it a higher interest project. I would feel somewhat uncomfortable if I was responsible for my eight and nine year old students starting to use Twitter. However I know that some of these social media websites aren’t that way. The websites that I am choosing, I am doing so because they might be more suited for younger students. Social- EdmodoWhat is Edmodo? “Edmodo is one of the first social networks designed exclusively for schools. It takes the concept of a learning management system (LMS) and bakes in rich social interactions, making it a popular choice in classrooms. With a look and feel that is similar to mainstream networks like Facebook, Edmodo is intuitive and incredibly easy to use” (Dembo & Bellow, 2013, p. 112). That exclusivity of being designed for schools begins at the login and creation of accounts. Teachers create a free log in and then create their classroom logins, which students only need to have an access code-- nothing more. They do not need an email address (thankfully in elementary school) and it is a safe because you can only see the class if you have access to the code. Because Edmodo models after a learning management system, this creates many features that make it even more beneficial to teachers, like automated grading and announcements. The features also include the use of third party apps, so students do not need to create a separate log in to use various websites (Dembo & Bellow, 2013 pp. 112-114). Because I know the power of this website, I have tried multiple times in my career to use it. I have never been successful in starting a class or doing anything with it. I have the drive to use it, however I think every time that I try to use it, I become overwhelmed at the amount of settings and things I can do with it that I sort of give up because I don’t know where to start. I finally decided to look up where to start with this by going to YouTube and finding this video. It is a video created by the company Edmodo. Already I feel more comfortable with how to use it because they suggest creating a group for each class, something I wouldn’t have thought was necessary because I am an elementary teacher. However I think that I will have to spend more time researching and seeing how this could fit in my classroom. Another reason it would be hard for me to use any type of learning management system is because we are not a one to one school. I have about 3-4 students per iPad/device. This make “quick assignments” like polling questions, not so quick because I need to have 3-4 rounds of students logging on to answer it. Creative- PreziPrezi is a web app that I only know of because of presentations I have watched. I have never attempted to create a prezi, I don’t know how detailed they are, and I don’t know why I would have my students create a Prezi instead of Google Slides. However, after researching it further, I see the merit of using Prezi and its innovative ability to display information. It seems that all of Prezi’s features revolves around the idea of visuals. We don’t change numbers of fonts, we simply drag to make it bigger. The other huge variety of Prezi is that presentations are no longer linear. This offers a lot of flexibility when creating presentations. (Dembo & Bellow, 2013). The way that I see myself using Prezi in my classroom would be with my higher achieving students. As of now there aren’t any projects that I do with my third graders that we display and present information via powerpoint or anything like that. However, if such a project would arise, I would consider Prezi for those students that need a challenge. I too would use Prezi in my own presentations to the class. Curation - SymbalooWith our ever growing world of resources, curation is so important not only for teachers but students in their research. I am completely unfamiliar with symbaloo, however I have had experience with Pinterest and Diijo. I chose symbaloo to research because of it very simple look, which is even more important in the younger grades. They need to be able to see and click, not rely heavily on reading just yet. It is also very simple to add websites to symbaloo with a click and choosing a website, many of which are already pre populated from the Symbaloo website. The other great thing about this web app is the integration of an app-- very helpful when your main technology is iPads. I think that I would use symbaloo more for my presentation to the class. I can’t count how many times I have wanted students to go a website but I do not have the time to put that website on all the iPads prior to the lesson. Having an app like symbaloo that I can manipulate and edit from my computer, and students can just click on on the iPads, would be immensely helpful. ReferencesDembo, S. & Bellow, A. (2013). Untangling the web: Twenty tools to power up your teaching [Kindle version]. Retrieved from Amazon.com.
|
AuthorWrite something about yourself. No need to be fancy, just an overview. Archives
March 2018
Categories EDIM 514 Wilkes Blog by Maggie Kaufman is licensed under a Creative Commons Attribution-NonCommercial-NoDerivatives 4.0 International License. |
 RSS Feed
